
How do I use my client portal?
Here is a tutorial on how to navigate through your client portal. Please use this tutorial to learn the different features of your client portal.
Learn the Basics
- Learn how to navigate the app, switch between views, search, filter and create new entires:
Explore the settings page The most efficient way to discover all of the powerful and time saving features Plutio has offer is to simply scan through the Settings page. We've designed it in a way that is easy for you to navigate.
Click on Settings from the main menu, then click through the different menu options for a quick overview of the features available and the level of customisation you can apply.

Show only what you need It is scientifically proven that a clutter free workspace can boost your productivity. So we've created a few tools for you to help keep your Plutio workspace clean and organised.
- Features Management:
Turn on/off features depending on your needs from Settings > General > Features management.

- Main Menu:
With the menu editor you can re-name the menu items, re-order them or hide the ones you don't need. You could also add links, icons, dividers and a section for pinned items.
 You can find the menu editor in Settings > Menu editor as show in the screenshot below:

- View Editor:
You can set which data to show and in which order using the view editor, which can be accessed by clicking on the "View editor" option from the utility bar:

**Setup up the workspace **
From Settings > Workspace details you can edit the workspace name and domain, upload branding assets such as the logos, and update the workspace contact details that appear on invoices and proposals.
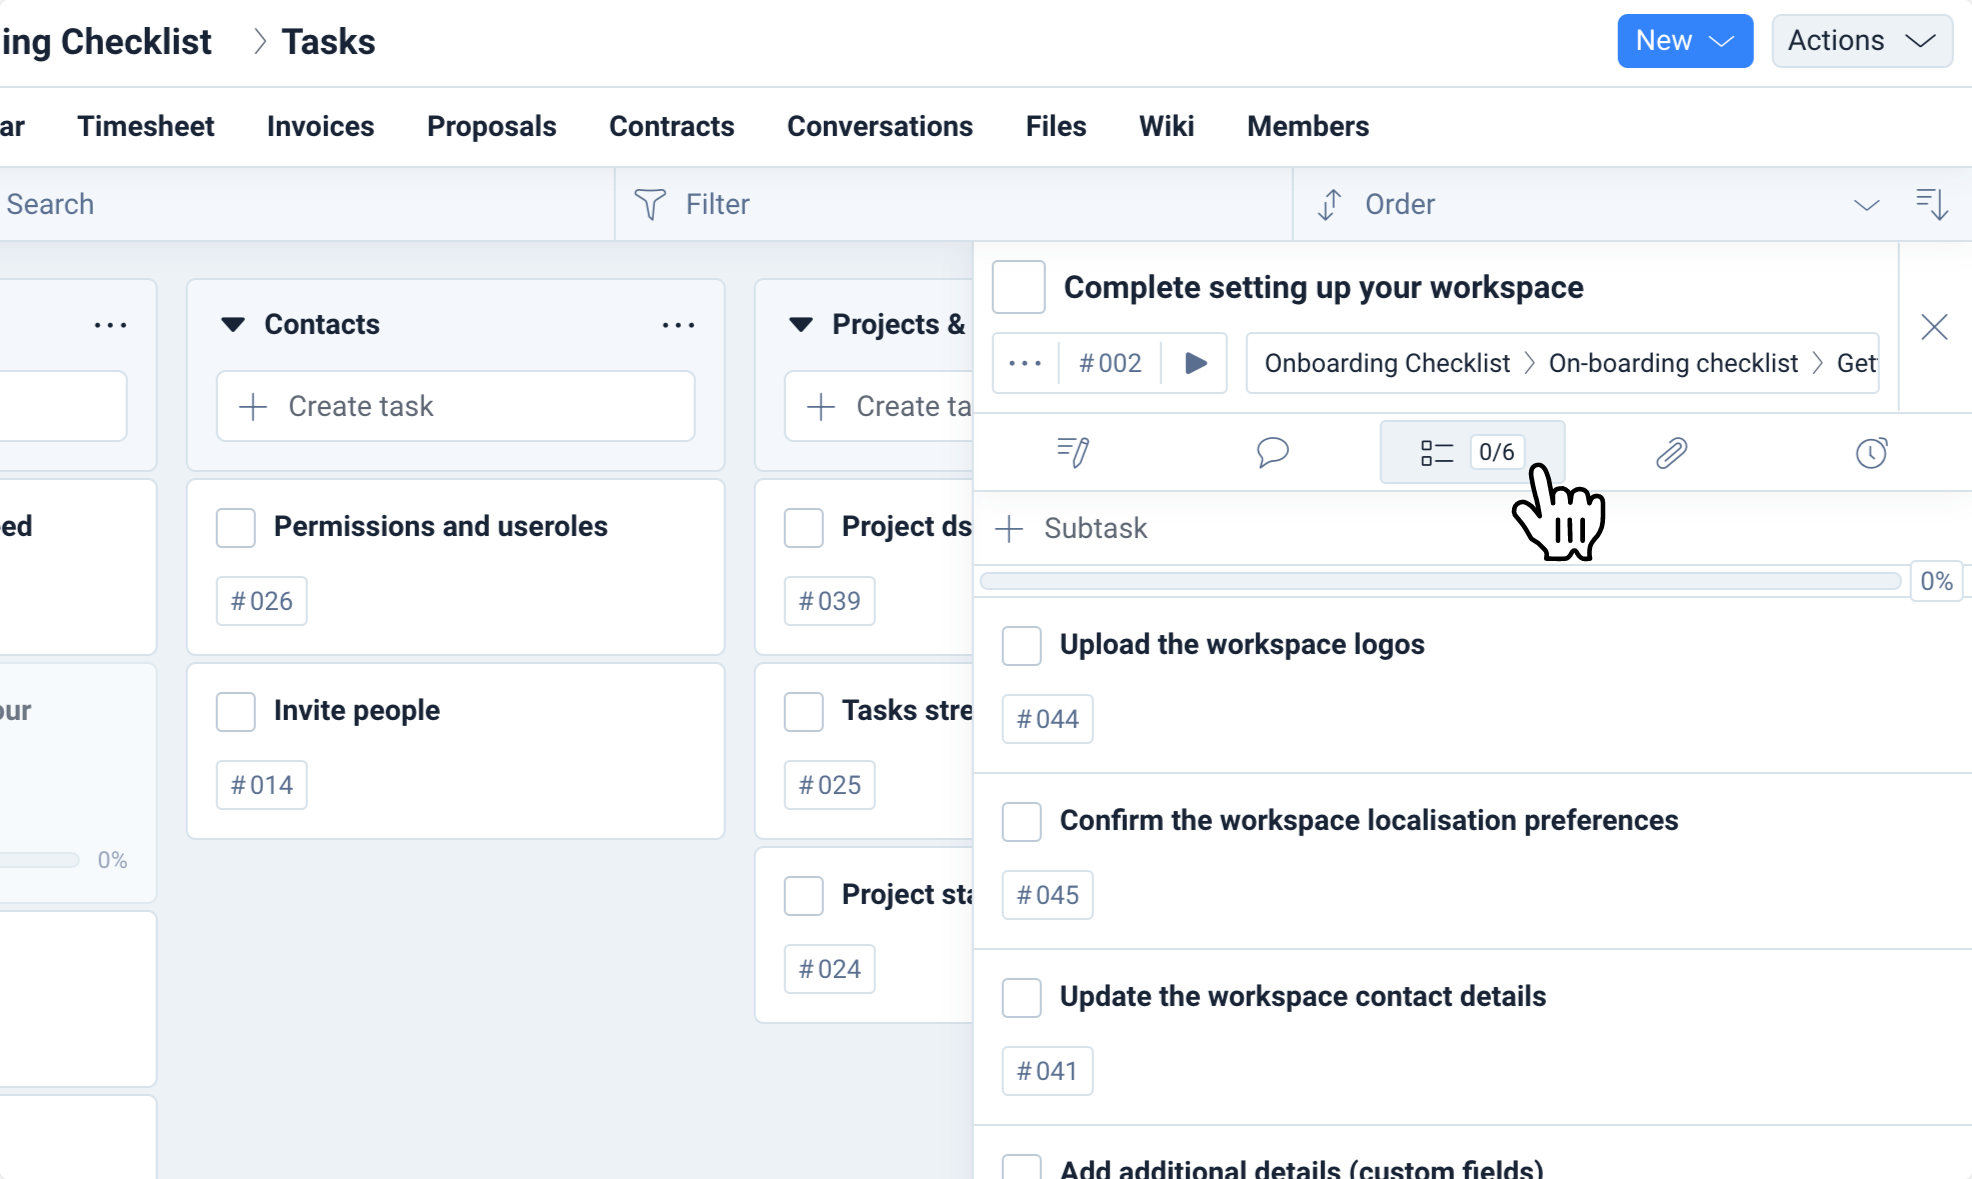
 💡 Check the sub tasks tab of this task for a checklist to complete setting up your workspace as shown below:
Create custom fields
Custom fields are used to add more details to almost anything in your workspace, such as tasks, projects, invoices and contacts.
For example you could create a task custom field for tags, priorities, estimates, or anything else you can imagine.

How to create custom fields:
From Settings > Custom fields you can find the full list of entities which you can create custom fields for.
 💡 Each custom field have its own permission preferences for granular control over who can see, view and edit the particular field.
 How to apply custom fields:
The way a custom field is applied differs depends on its type. Check this article for a step by step guide.
Create re-usable templates
Reusable templates are one of the best ways to save time and be more productive. With Plutio, you can create templates for projects, tasks, proposals, contracts, forms and even individual building blocks.You can access the templates collection by clicking on the templates shortcut from the main menu as shown below:
 Public Library:
You can add templates from the public library if you don’t want to start from a blank canvas or for inspiration.

Connect your Google calendar Sync your Google calendar with your Plutio calendar and ensure you never get double booked.
From Settings > Calendar > Connect Google Calendar, click on Sign in with Google then follow the instructions that will appear in a new window to sign-in and connect.
